Learn Ruby the Hard Way – Exercise 38 Doing Things to Arrays

Here is my work for Exercise 38.
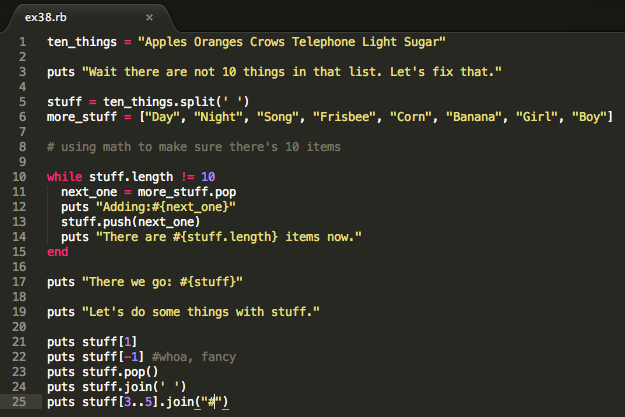
Exercise 38 code
Exercise 38 code
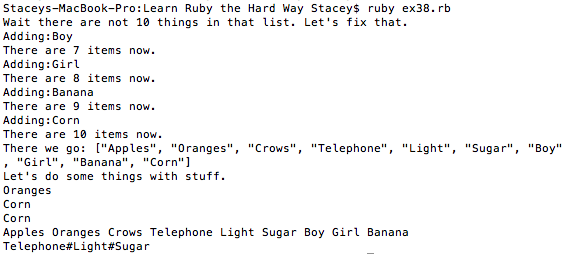
Exercise 38 output
Exercise 38 output

Study Drills

1. Take each function that is called, and go through the steps for function calls to translate them to what Ruby does. For example, more_stuff.pop() is pop(more_stuff).
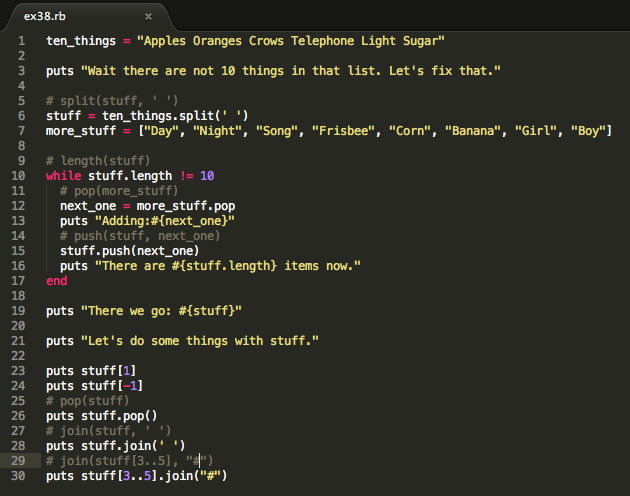
Translated function calls in comments

There’s a mistake in the screenshot above, the comment on line #5 should be split(ten_things, ‘ ‘) since the function is being called with argument ten_things.

2. Translate these two ways to view the function calls in English. For example, more_stuff.pop() reads as, “Call pop on more_stuff.” Meanwhile, pop(more_stuff) means, “Call pop with argument more_stuff.” Understand how they are really the same thing.
Understood! I translated both ways to views the function calls in English.
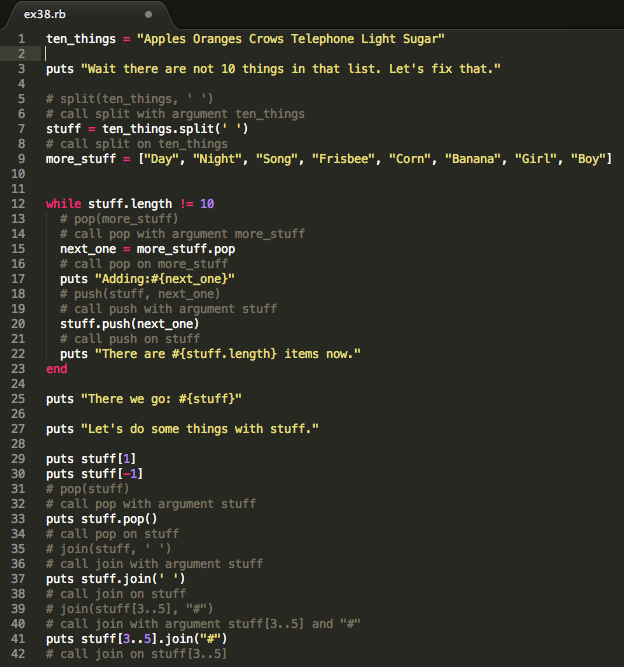
Translated into English

3. Go read about “object-oriented programming” online. Confused? I was too. Do not worry. You will learn enough to be dangerous, and you can slowly learn more later.
I found this great resource on Object-oriented programming. Although it also introduces syntax for the Java language, I found its explanations very easy to understand.

4. Read up on what a “class” is in Ruby. Do not read about how other languages use the word “class.” That will only mess you up.
Ruby ‘s class is like a blueprint from which individual objects are created. For example, your_bicycle is an object with states and behaviours. The object your_bicycle is an instance of the class bicycles. 

5. Do not worry if you do not have any idea what I’m talking about. Programmers like to feel smart so they invented object-oriented programming, named it OOP, and then used it way too much. If you think that’s hard, you should try to use “functional programming.”
Whoa whoa whoa, let’s take this one step at a time…

6. Find 10 examples of things in the real world that would fit in an array. Try writing some scripts to work with them.

1) deck of cards
2) address book
3) menu
4) shopping list
5) directions
6) store locations
7) student name list
8) car models
9) people waiting in line
10) appointments

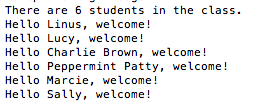
Students in the Peanuts classroom.
Say Hi to all the students.

Summary
This exercise introduced me to another way of looking at methods called on an object. When looking at code such as array_name.split(‘ ‘), I looked at it as calling the split method on the array_name array. Zed Shaw says to look at it another way, calling the split method with the array_name as an argument. So you should think of how Ruby is working as split(array_name, ‘ ‘)!

First Ruby looks up the array_name variable, then it looks at its functions. It hits “split” and then it looks at all the stuff that array_name says it owns. It finds split and and grabs that to use, then it sees the () and realizes hey this is a function! That is when Ruby calls the split function, and gives it an extra argument: array_name.

Although I’ve done function calls on objects before, I did not realize this process was what was happening. It’ll take some extra repetition while writing code to get this idea to stick!
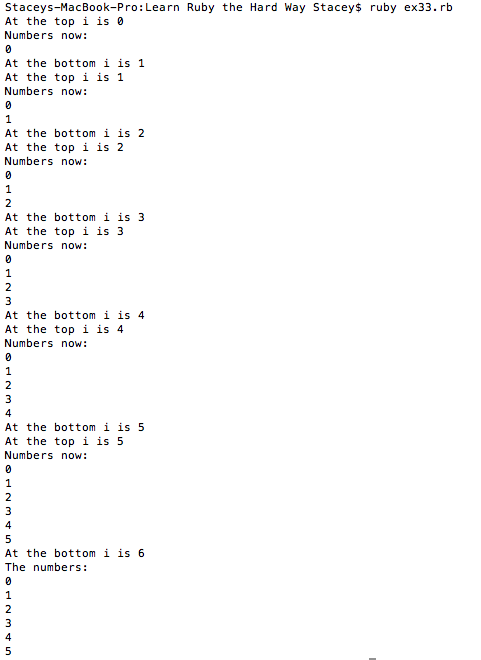
Learn Ruby the Hard Way – Exercise 33 While Loops

Here is my work for Exercise 32.

Exercise 32 code
Exercise 32 code
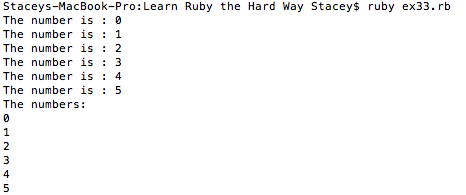
Exercise 32 output
Exercise 32 output

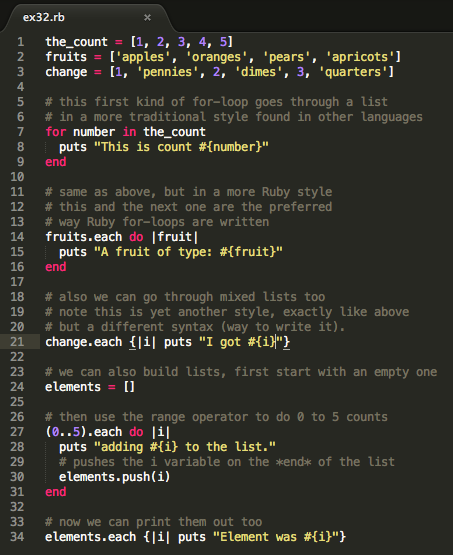
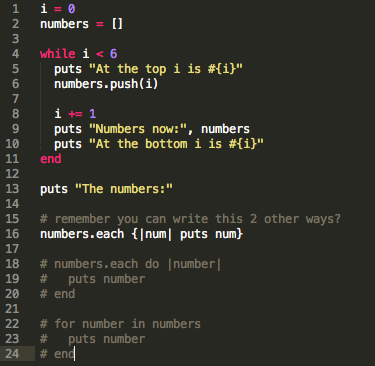
In the exercise code, Zed Shaw asks if you remember the other two ways from the previous exercise. I have written two other ways to print out the numbers array in comments.

Study Drills
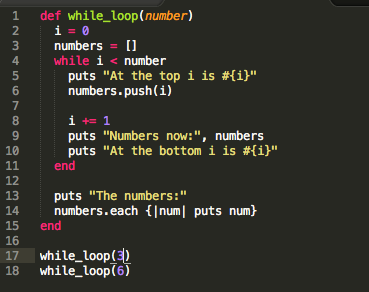
1. Convert this while-loop to a function that you can call, and replace 6 in the test (i < 6) with a variable.

Rewriting the loop into a function.

2. Use this function to rewrite the script to try different numbers.
On line 17 and line 18, I call the function using 3 and 6.
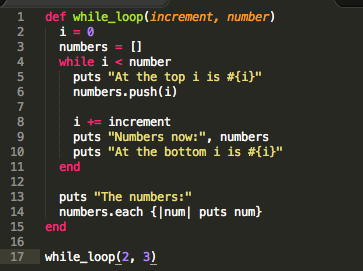
3. Add another variable to the function arguments that you can pass in that lets you change the + 1 on line 8 so you can change how much it increments by.

The function takes two parameters, an increment value and an upper limit number.

3. Rewrite the script again to use this function to see what effect that has.

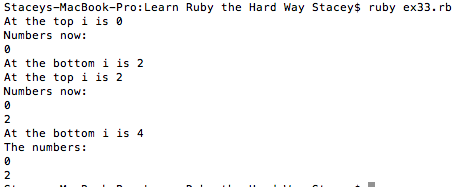
Incrementing by 2 with an upper limit of 3, only 0 and 2 are added to the numbers array.

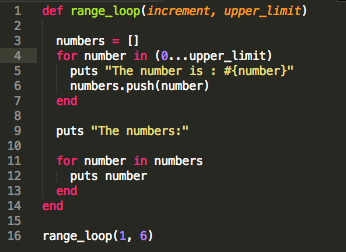
4. Write it to use for-loops and (0 .. 6) range operator. Do you need the incrementor in the middle anymore? What happens if you do not get rid of it?

Rewritten script with for loop and range operator.

An increment operation is not needed because the for loop automatically increments through the values of the range operator.

Rewritten script output.

Note that the upper_limit parameter in this function indicates the number that WILL NOT be added to the numbers array. If we wanted the upper_limit number to be the last element added to the array, we would type (0..upper_limit) on line 4 instead. The numbers would then be 0, 1, 2, 3, 4, 5, 6.

Summary
This exercise introduces while loops. It also shows that some while loops can be rewritten into for loops. When writing a while loop, it is important to check the condition (and its changes) throughout the loop so that you do not end up with an endless loop.


Learn Ruby the Hard Way – Exercise 32 Loops and Arrays

Here is my work for Exercise 32.

Exercise 32 code
Exercise 32 code
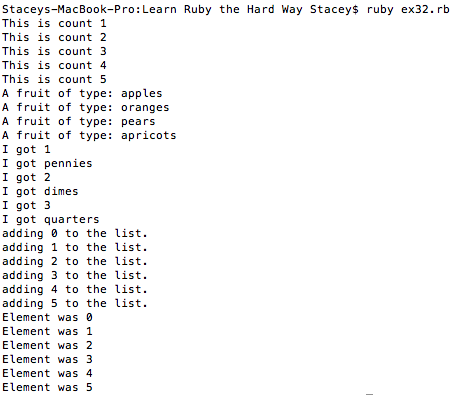
Exercise 32 output
Exercise 32 output

Study Drills
1. Take a look at how you used (0..5) in the last for-loop. Look up Ruby’s “range operator” (.. and ...) online to see what it does.
Ruby’s range operator is used to loop through a collection of integers. (..) is inclusive of the first and last element, (…) is exclusive of the last element.

(first_number..last_number).each do |number|
puts number
end

The above code will print the range from the first_number to the last_number.

2. Change the first for number in the_count to be a more typical .each style loop like the others.

Rewriting the for.. in ... loop.
Rewriting the for.. in … loop.

3. Find the Ruby documentation on arrays and read about them. What other operations can you do besides the push function? Try <<, which is the same as push but is an operator. fruits << x is the same as fruits.push(x).
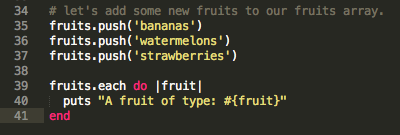
Here is the Ruby documentation on arrays. You can also sort arrays, reverse arrays, replace specific elements.. etc. The <<  append operation pushes the given object on to the end of the array. We can use fruits.push(new_fruit) to add new fruit elements to our fruits array. I added the code below to the end of the script.

Adding fruits and printing the list again.
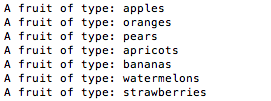
Fruits!
Fruits!

Summary
This exercise uses arrays and loops (.each, for element in array) to make arrays and print their contents. You can loop through integers using (first_number..last_number) and (first_number…last_number), two dots are for inclusive loops (first and last element) while the three dots are for exclusive loops (exclusive of the last integer indicated). Coming from JavaScript (and always using the for loop), I’m happy to find the .each method even easier to use!

Day 38 – Followers

Things following your cursor is super awesome. I think my favourite one has to the fugu, pufferfish! The way it puffs into a big ball then shrinks back… so cool. Imagine my disappointment when I went to look at the awesome code… and saw that it was done with Flash. Nooo. Well, I guess I would have to figure out something similar myself.

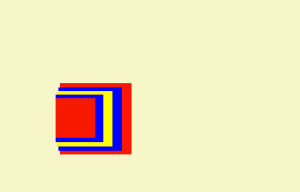
I created an array of squares of various sizes stacked together. They would all follow the cursor but at decreasing speeds to that the one at the very back would be the slowest. An offset was needed so that the squares would be aligned at the center instead of all in an upper corner. Although my follower squares are simple, using images or pure css with a set up like this could result in a similar look as the stalker marine animals! 😉 Ah, maybe when my css or canvas skills are more advanced…
followers

Day 38 – Followers

Day 34 – Sierpinski Triangle

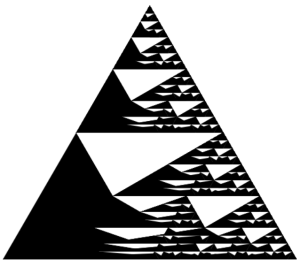
This page took me two days to write! Here’s a screenshot from when I was just slightly off with calculations…
oops

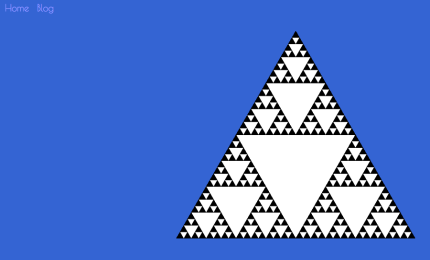
I used canvas and trigonometry to calculate the vertices of the triangles. I wrote a function that would fill an empty array with the information about each triangle. I then went through the array to draw the triangles using canvas. This was a very tedious process that was extremely error-prone as you can see above. Because the function only drew one triangle with four smaller triangles within it, the function had to be called several times to achieve the Sierpinski triangle.

In retrospect, there was no need to create an array for the vertices. I could have used a recursive function to draw the triangles within the triangles until the side of the triangle reached a certain limit. It was difficult to think of rewriting from scratch after all the work/careful comments I had put into my tedious function.

I think the biggest lesson I learned writing this page as not canvas or trigonometry, but the idea of ‘deleting code’. It’s easy to add code or to copy and paste code but to simplify the code is the hard part. You can’t get attached to your code and resist changes. I guess the hard part for me is I enjoyed working on difficult math problems but even if the solution was incorrect, I could still see the work I had done. There’s something oddly satisfying about seeing a whole page of practice problems in a notebook. You feel good about the work you have done and gain confidence in your abilities.

When you have to delete your code and start from scratch, it almost feels as if you did not learn anything… which is of course not true.

“Simplicity is the ultimate sophistication.” – Leonardo da Vinci

trinangle
Day 34 – Sierpinski Triangle

Day 28 – Simon

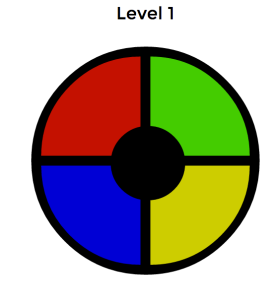
Simon is a memory game! It is similar to those awful self-intro circles where you have to remember everyone’s name and keep adding to the list… except not as awful, and kind of fun.

I got to play with border-radius again to make the buttons. I once again drew out the four squares to figure out which values to enter. I had thought of creating the “arc” shape but realized I could just put a center circle to create the same look.
WheelIt was difficult to make the buttons appear to “light up”! I tried using lighter colors and adding a white glow but they just looked duller. I went with a darker color to begin with instead. Color charts are so useful!

I wrote a few functions: one to create a game pattern, one to show the pattern, one to light up individual buttons, and one to get user input and compare it with the game pattern. The one I got stuck on was showing the pattern! All the buttons would show at the same time and it would appear as all but the newest one lighting up. I added a lot of console.log() lines to my code to figure things out! Setting a timeout before lighting up the buttons was the solution.
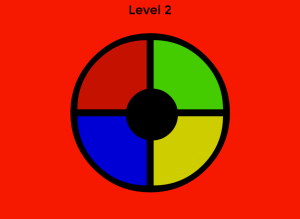
Fail
Another problem was I forgot to increment or reset values in different places. For example, I had a counter for the index of user input values in an array, but I forgot to reset this after moving to the next level. This would result in a fail at the following level even though the user pressed the right buttons! (Angry red background…) I need to practice writing cleaner code so that it is easier to review and check the logic. I also need to keep reading so that I’m not stuck on the same few concepts!

Day 28 – Simon